Module 3: Care Under Fire / Threat
Joint Trauma System
Care Under Fire / Threat
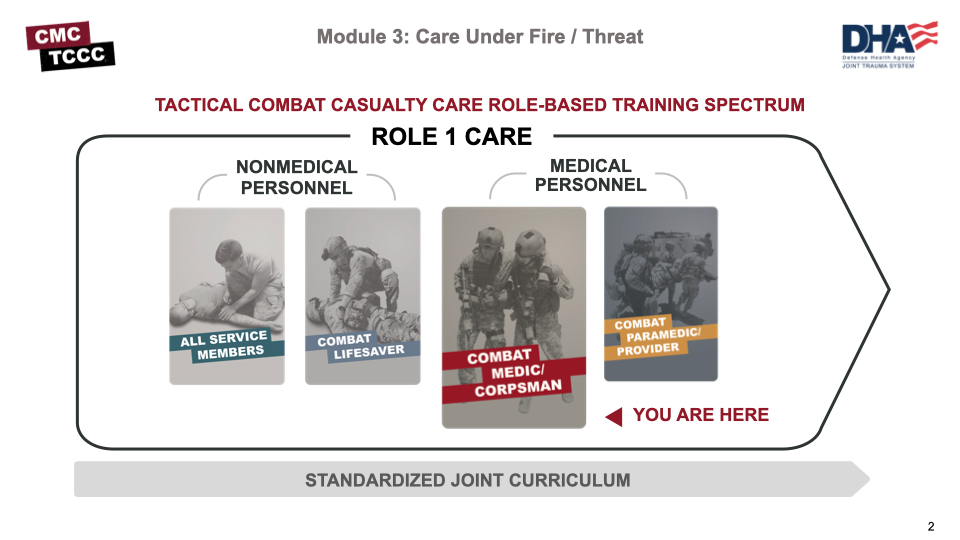
Tactical Combat Casualty Care is broken up into 4 roles of care.
- The most basic is taught to All Service Members (ASM), which is the absolute basics of hemorrhage control and basic recognition of more serious problems.
- The Combat Lifesaver (CLS) is taught more advanced skills needed to treat the most common causes of death on the battlefield, which are massive hemorrhage and airway/respiratory problems. In addition, the CLS is given the knowledge and skills to identify and prevent complications and treat other associated but not immediately life-threatening injuries.
- The Combat Medic/Corpsman is the first medical provider to care for the casualty in the prehospital environment and is expected to provide more advanced care requiring significantly more medical knowledge and skills.
- The most advanced role is the combat paramedics/advanced providers, who are expected to provide the most sophisticated care to keep our wounded warriors alive and get them to definitive care.
It is important that the Combat Medic/Corpsman understand the roles and responsibilities of the nonmedical personnel (ASM and CLS) that may be providing care/assisting in care in the prehospital environment.
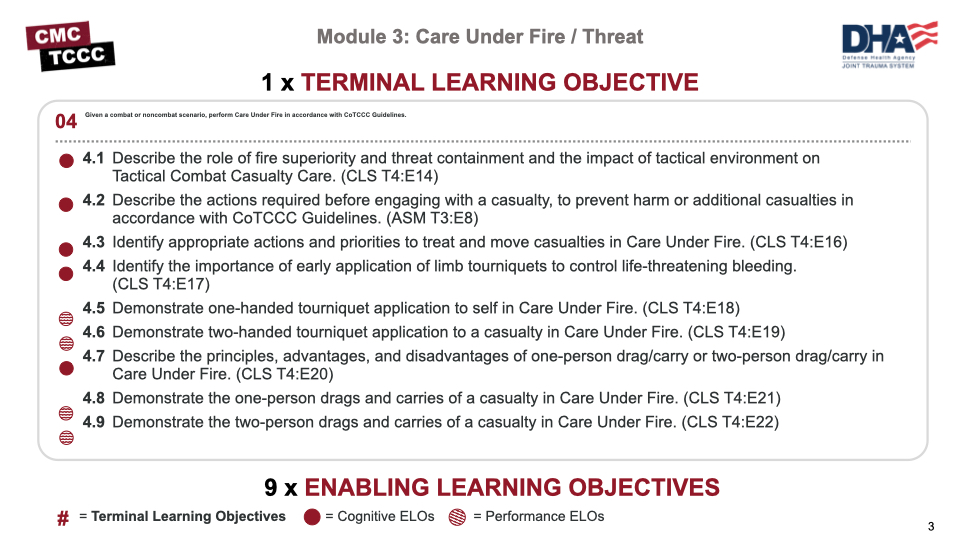
There are 5 cognitive and 4 performance learning objectives for the Care Under Fire module.
The cognitive learning objectives are to describe the role of fire superiority and how the tactical environment impacts Tactical Combat Casualty Care, the actions required before engaging with a casualty to prevent harm or additional casualties, appropriate actions and priorities to treat and move casualties in Care Under Fire, the importance of early application of limb tourniquets, and the principles, advantages, and disadvantages of one-person drags/carries or two-person drags/carries in Care Under Fire.
The performance learning objectives are to demonstrate one-handed tourniquet self-application and two-handed tourniquet application to a casualty, and to demonstrate the one-person and two-person drags and carries of a casualty in Care Under Fire.
Care Under Fire (CUF) is the first of three phases of TCCC. It is the life-saving care provided while still under active enemy fire or threat.

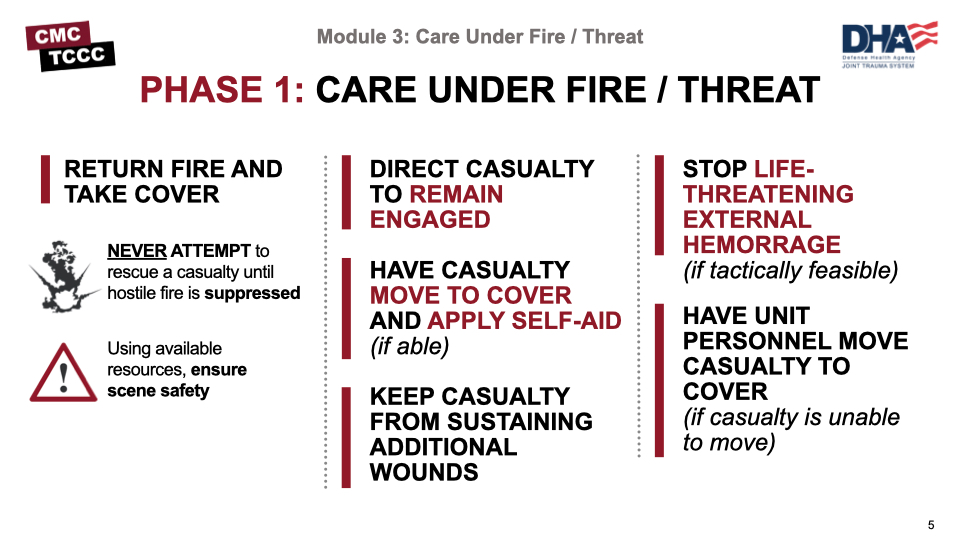
The first phase is Care Under Fire, or in the case of a noncombat environment, Care Under Threat. In this phase, the scene is not safe, and the overall priority is to establish scene safety in the form of fire superiority or control of any threats from a noncombat environment. The TCCC Guidelines state that the basic management plan for Care Under Fire is:
- Return fire and take cover.
- Direct the casualty to remain engaged as a combatant if appropriate.
- Direct the casualty to move to cover and apply self-aid if able.
- Try to keep the casualty from sustaining additional wounds.
- Stop life-threatening external hemorrhage if tactically feasible.
- Move the casualty to cover, if the casualty is unable to move.
The mission does not stop just because there is a casualty. Most battlefield casualty scenarios involve making medical and tactical decisions rapidly. In the combat environment, there is no “time-out” when casualties occur. Good medicine can sometimes be bad tactics; doing the RIGHT thing at the WRONG time can get you and your teammates killed or cause the mission to fail.
The order of initial actions will be dictated by the tactical situation. Little time is available to provide casualty care while under effective enemy fire.
Remember: Do not become a casualty! Assess the situation and the risk. Suppress enemy fire and gain fire superiority first. Communicate with and direct the casualty to return fire, move to cover, apply self-aid, and develop a plan before moving to care for a casualty under fire.
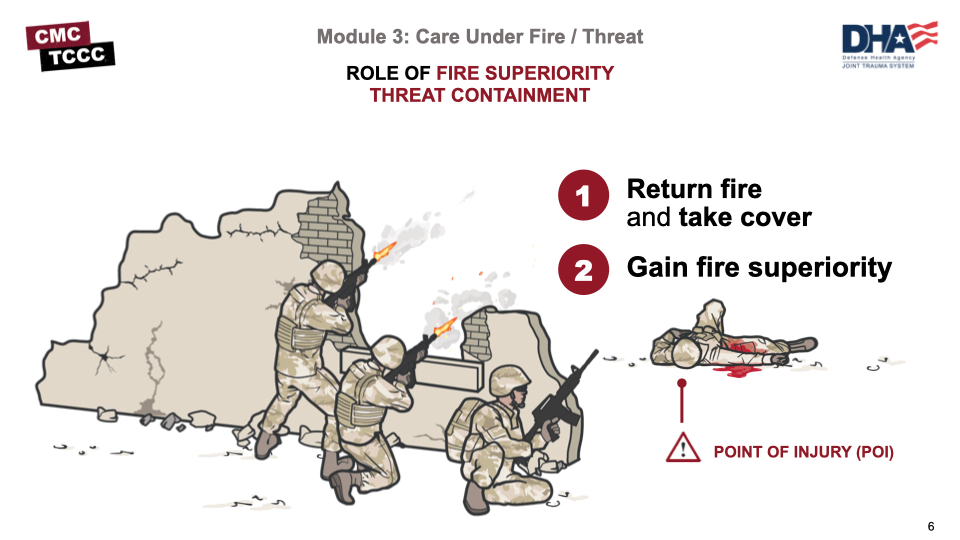
Role of Fire Superiority:
- Return fire and take cover
- Gain fire superiority
Taking these actions is a priority and will help contain the immediate threat (Threat Containment). This will also reduce the risk of injury to other personnel and minimize additional injuries to the casualty while completing the mission.
The best medicine on the battlefield is fire superiority!
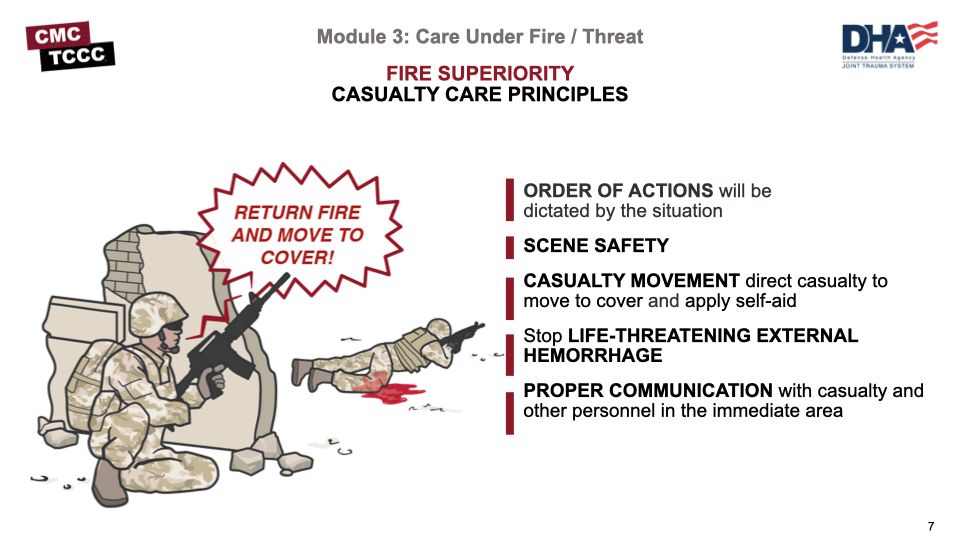
The order of these four Actions really depends on the scenario, but generally, scene safety is paramount. If the scene is safe, and there is life-threatening external hemorrhage, your first step could be tourniquet placement. Each scenario is different, and the ordering of these actions could vary.
There are four major areas for action:
- Scene Safety
- Casualty Movement
- Stop life-threatening external hemorrhage
- Proper Communication
Scene Safety
First, you must ensure the scene is safe for you to enter. You can help others who may be working to secure the scene, or you may have to do what you can to
make the scene safe to enter (return gunfire, firefighting etc.). You can’t risk your personal safety, the risk of injury to other personnel, or the safety of your casualty.
Casualty Movement
Move the casualty to a safer area due to a real or potential threat that exists in the environment. In that case, you must quickly develop a casualty movement plan that takes into account these important considerations: the location of the nearest cover, how best to move yourself or the casualty, the weight of the casualty, and the distance to be covered.
Stop Life-Threatening External Hemorrhage
Place one or more hasty tourniquet(s) (in a “high and tight” manner) to an arm or leg to control life-threatening external hemorrhaging. This should be accomplished in less than 1 minute. If the casualty is conscious, you may direct the casualty to render self-aid and apply a tourniquet to him/herself, if they have one.
Proper Communication
Once you are able to reach the casualty safely and have taken any other precautions through proper communication, you must:
- Communicate with the casualty as soon as possible, maybe even before you have moved the casualty to a safe area, to determine if they are awake, confused, or disoriented. If they are awake, let them know you are there to help.
- Request assistance from first responders or other medics, if available. Rarely are you alone in these circumstances.
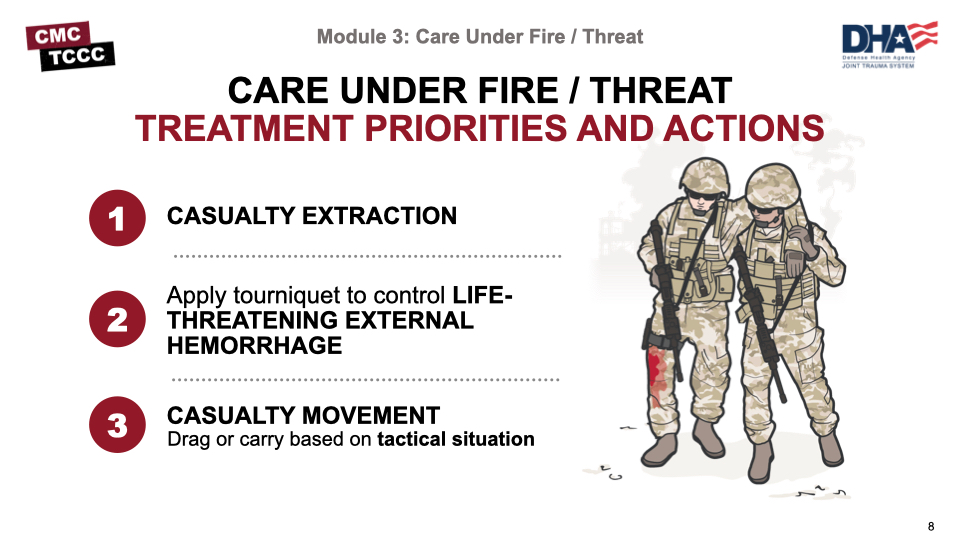
The main priority in Care Under Fire is establishing fire superiority to avoid additional casualties and additional injuries to existing casualties. Treatment priorities can then be addressed. Per the TCCC guidelines, these are:
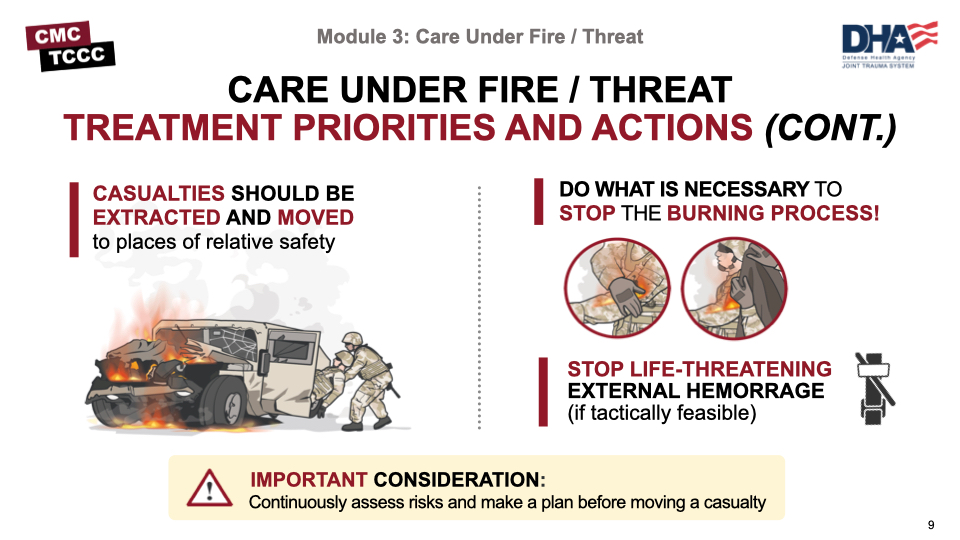
- Extracting casualties from burning vehicles or buildings (if applicable)
- Stopping life-threatening external hemorrhage using limb tourniquets (if tactically feasible).
- Direct casualty to control hemorrhage by self-aid if able.
- Use a CoTCCC-recommended limb tourniquet for hemorrhage that is anatomically amenable to tourniquet use.
- Apply the limb tourniquet over the uniform clearly proximal to the bleeding site(s). If the site of the life-threatening bleeding is not readily apparent, place the tourniquet “high and tight” (as proximal as possible) on the injured limb.
- Move casualties to cover whenever possible.
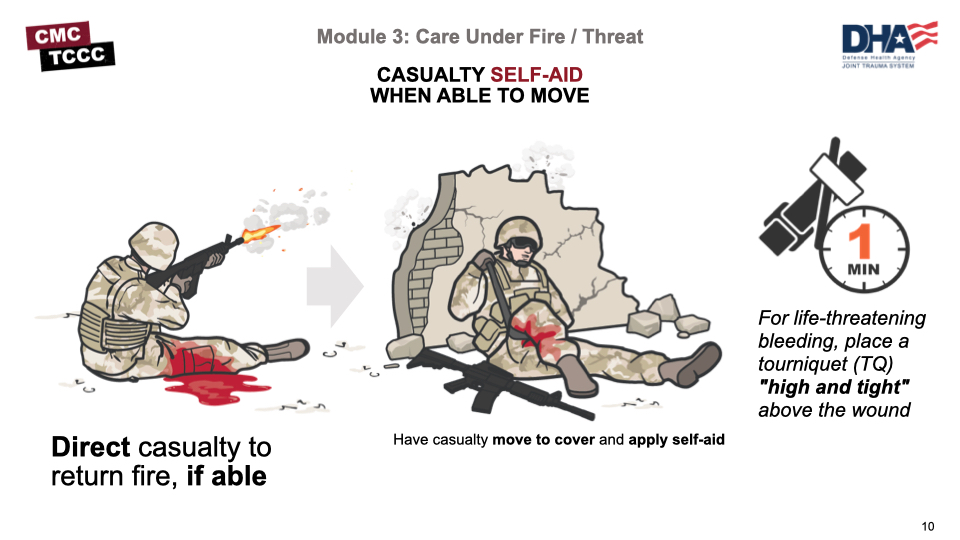
If the casualty is responsive and able, direct them to:
Return fire.
Move to cover (if possible) and direct or expect casualty to remain engaged as a combatant if appropriate.
Apply self-aid if able or when tactically feasible, using a CoTCCC-recommended limb tourniquet for hemorrhage that is anatomically amenable to tourniquet use (within 1 minute, ideally).
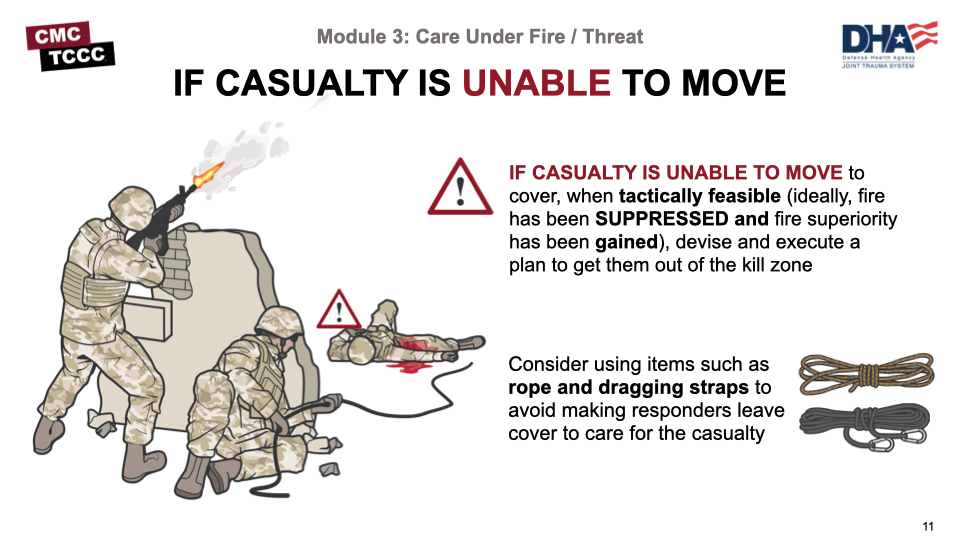
If casualty is unable to move, have the casualty re-engage (if possible) in helping to establish fire superiority.
If a casualty is responsive but can’t move and the situation provides a window of opportunity, a rescue plan should be devised and executed when tactically feasible.
Determine the risk to rescuers, consider your assets, and make sure all personnel understand the movement plan.
Do not put responders at risk if it can be avoided.
If cover is not available or the wounded Service member cannot move to cover, refer to your unit’s SOP or TTP.
Remember: If you can do only ONE thing for the casualty, identify and stop life-threatening bleeding, and keep them from bleeding to death.
Extremity hemorrhage is the most frequent cause of preventable battlefield deaths. Over 2,500 deaths occurred in Vietnam secondary to hemorrhage from extremity wounds. A large number of deaths in Iraq and Afghanistan were also seen from hemorrhage. Injury to a major vessel can quickly lead to shock and death.
To help introduce the topic of bleeding control in the Care Under Fire phase and also provide a general overview of limb tourniquets, watch this short video.
CARE UNDER FIRE OVERVIEW
It is important to understand how to perform a visual blood sweep to distinguish life-threatening hemorrhage from minor bleeding. The following are examples of when bleeding is considered life-threatening:
- There is a traumatic amputation of an arm or leg
- There is pulsing or steady bleeding from the wound
- Blood is pooling on the ground
- Overlying clothes are soaked with blood
If you see any of these examples during your visual blood sweep, apply a limb tourniquet over the uniform clearly proximal to the bleeding site(s). If the site of the life-threatening bleeding is not readily apparent, place the tourniquet “high and tight” (as proximal as possible) on the injured limb and move the casualty to cover.
You may not really know if hemorrhage is life-threatening until the Tactical Field Care phase when the wound can be exposed and evaluated. If you suspect it is life-threatening in Care Under Fire, treat it.
Remember during CUF the only medical intervention is applying a limb tourniquet to stop life-threatening bleeding from an extremity injury. Other wounds (like the neck, armpit, groin, or abdomen) are not treated during CUF. However, if the casualty is able, direct them to apply pressure to the wounds as self-aid. Airway and other issues are also not treated until the TFC phase.

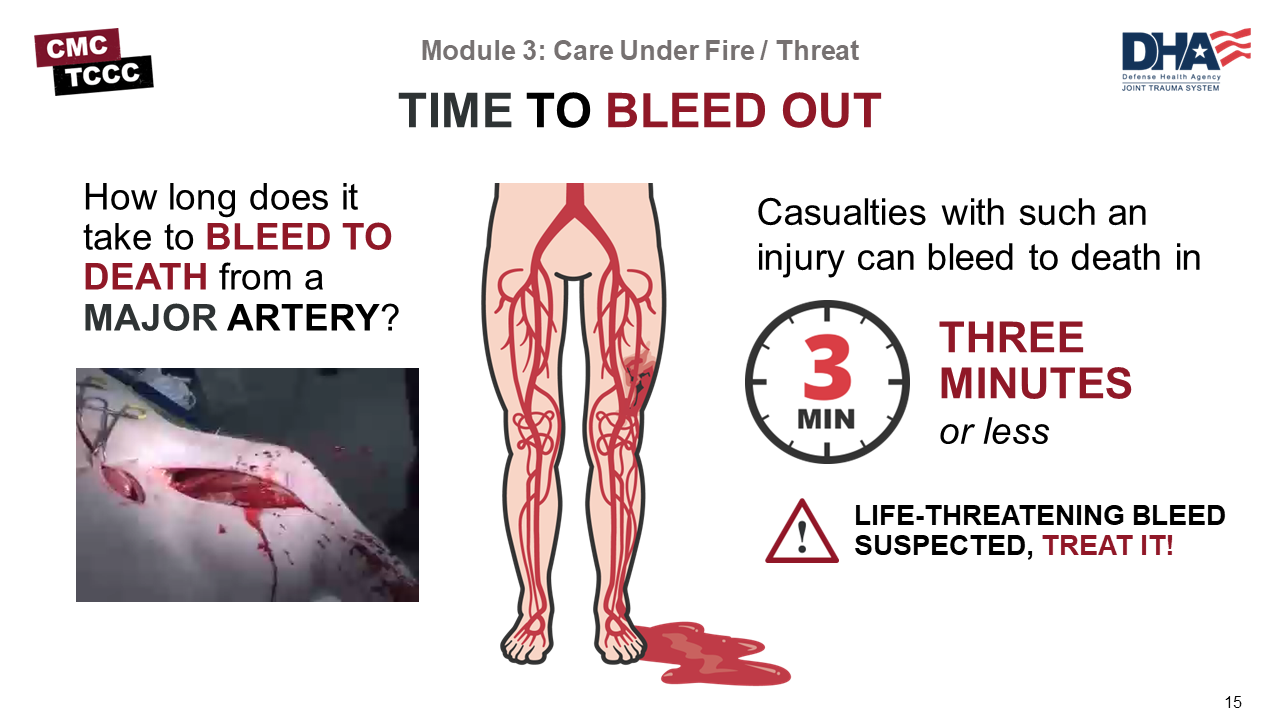
The number one medical priority in CUF is early control of life-threatening external hemorrhage. Casualties with injuries to large central blood vessels (like the femoral artery, the axillary artery, or the carotid artery) can bleed to death in as little as 3 minutes.
A casualty can bleed to death in as little as 3 minutes. The faster you apply a tourniquet, the better the outcome and the less chance of shock and death.
A tourniquet is a constricting band placed around an arm or leg to stop bleeding. It is at least 2” wide (or wider, as the extra width reduces tissue damage) and can be applied quickly to stop life-threatening extremity bleeding.
Do not put a tourniquet directly over the knee or elbow or over a holster or cargo pocket that contains bulky items. It should be placed high and tight during CUF, and the time of application shouldn’t be documented until the Tactical Field Care phase.
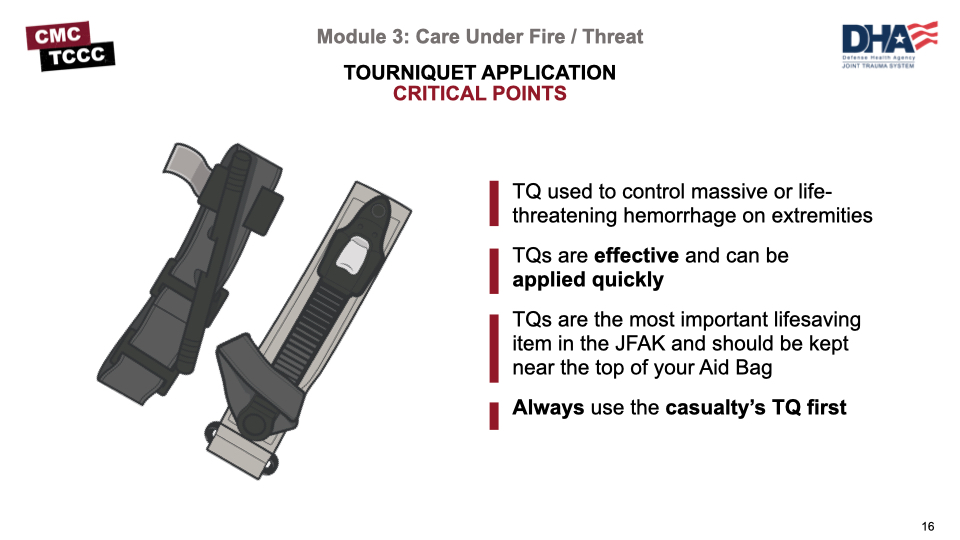
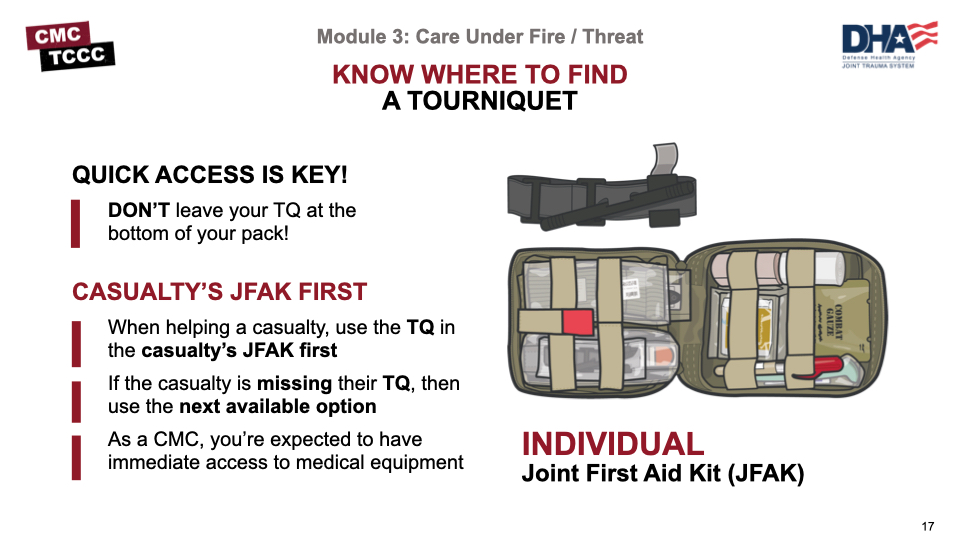
All personnel on combat missions should have a CoTCCC-recommended tourniquet readily available in a standard location on their gear and be trained in its use. Casualties should be able to easily and quickly reach and apply their own tourniquet. Tourniquets should NEVER be at the bottom of the pack.
Always use the casualty’s tourniquet from their own JFAK first.
Always have more than one option available for tourniquet use in CUF. It is your responsibility as a CMC to ensure that you have multiple avenues of equipment for lifesaving interventions.
Casualties may need to apply tourniquets using a one-handed technique when applying self-aid for bleeding from an injury to the upper arm or forearm. Tourniquets typically come packaged in a looped configuration, which is necessary for one-handed application.
Many units require their members to remove them from their original package and confirm this before deploying, as there is no time on the battlefield to ensure the tourniquet is properly looped before use.
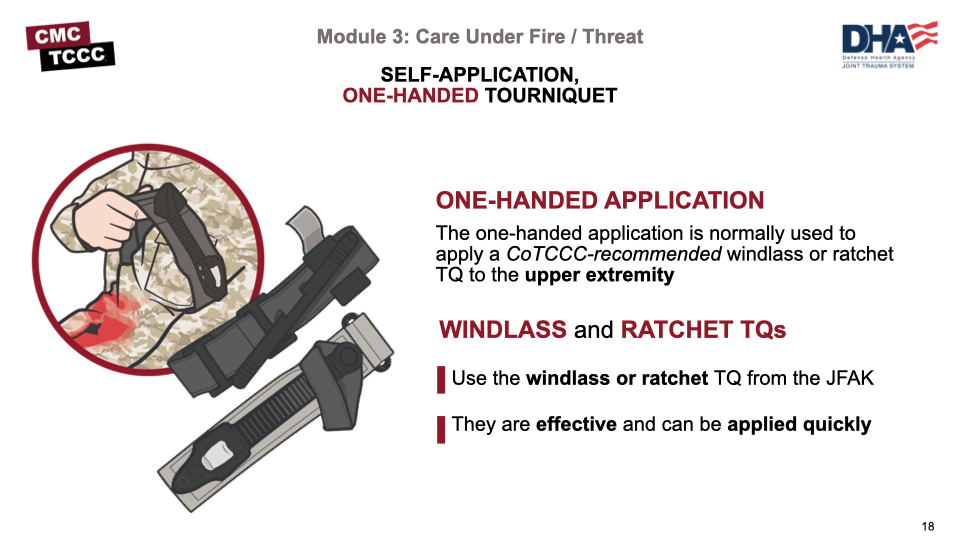
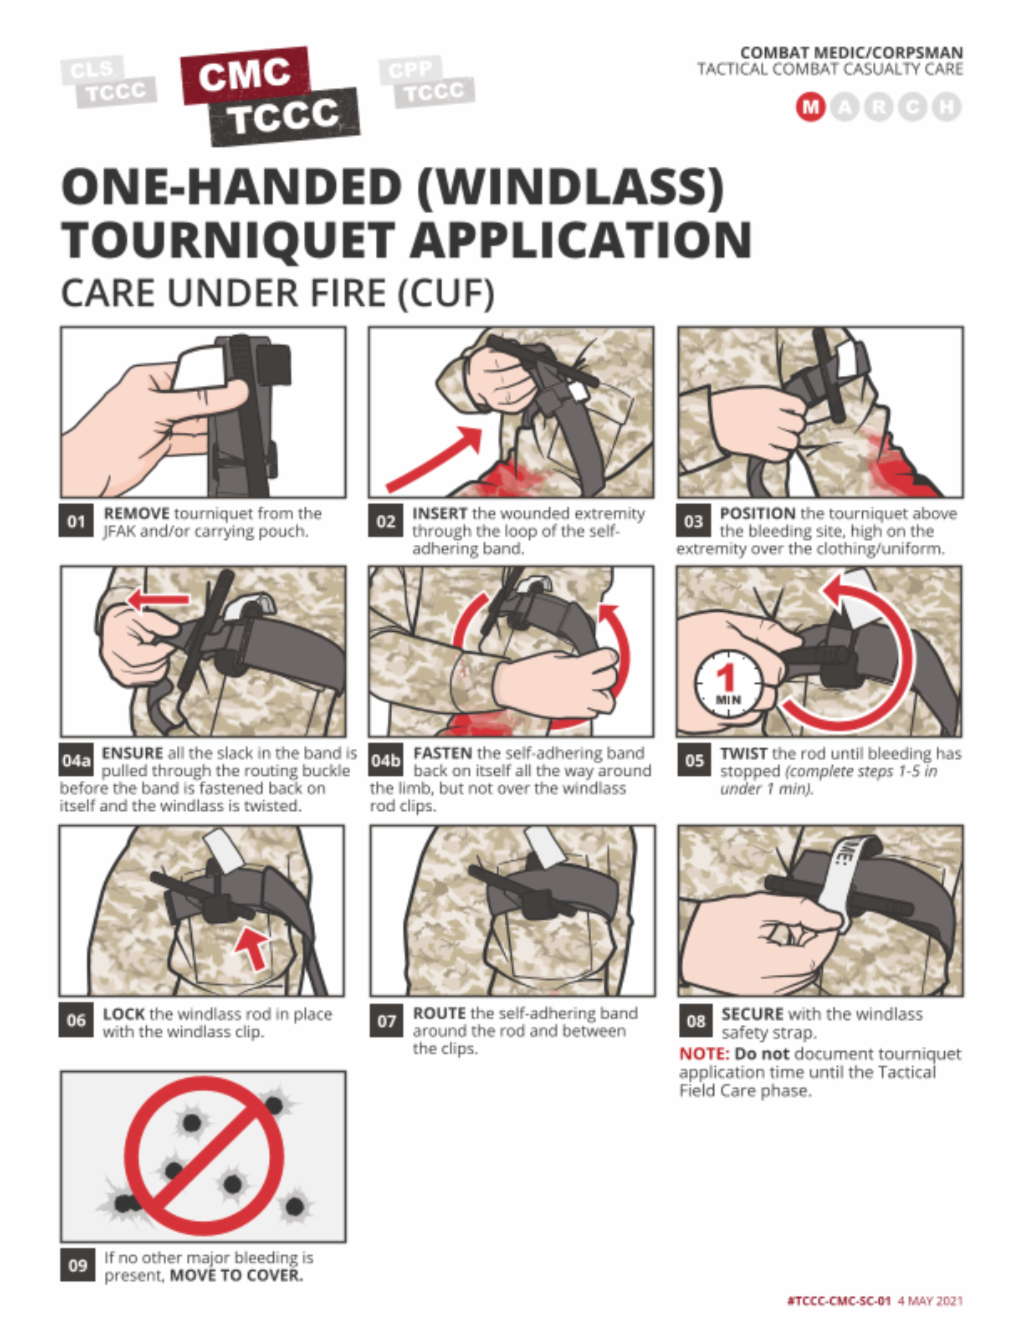
The one-handed technique can be used with any of the CoTCCC-approved tourniquets. These next two videos will introduce you to the steps of applying one of these tourniquets to yourself, beginning with the windlass version.
ONE-HANDED WINDLASS TOURNIQUET APPLICATION
Now let’s take a look at the ratchet-type device using the one-handed technique.
ONE-HANDED RATCHET TOURNIQUET APPLICATION
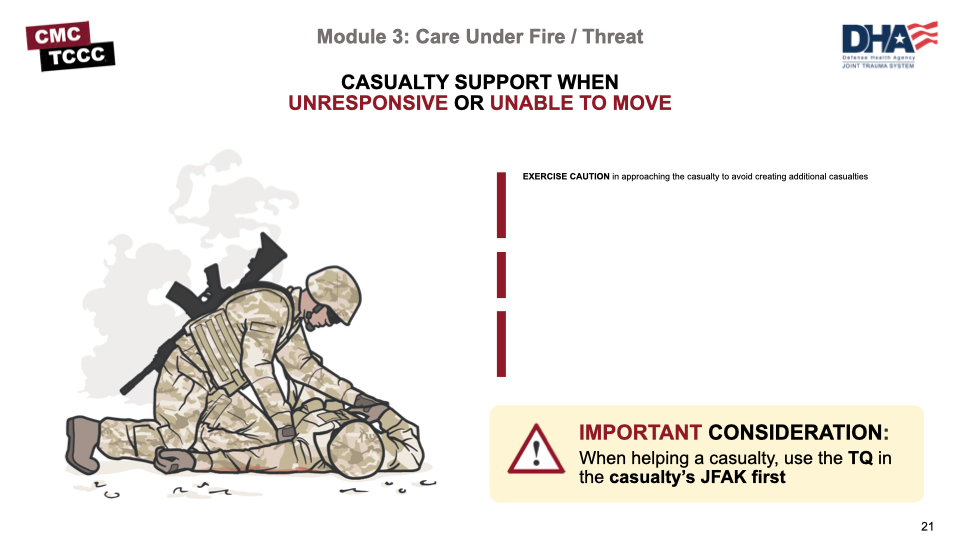
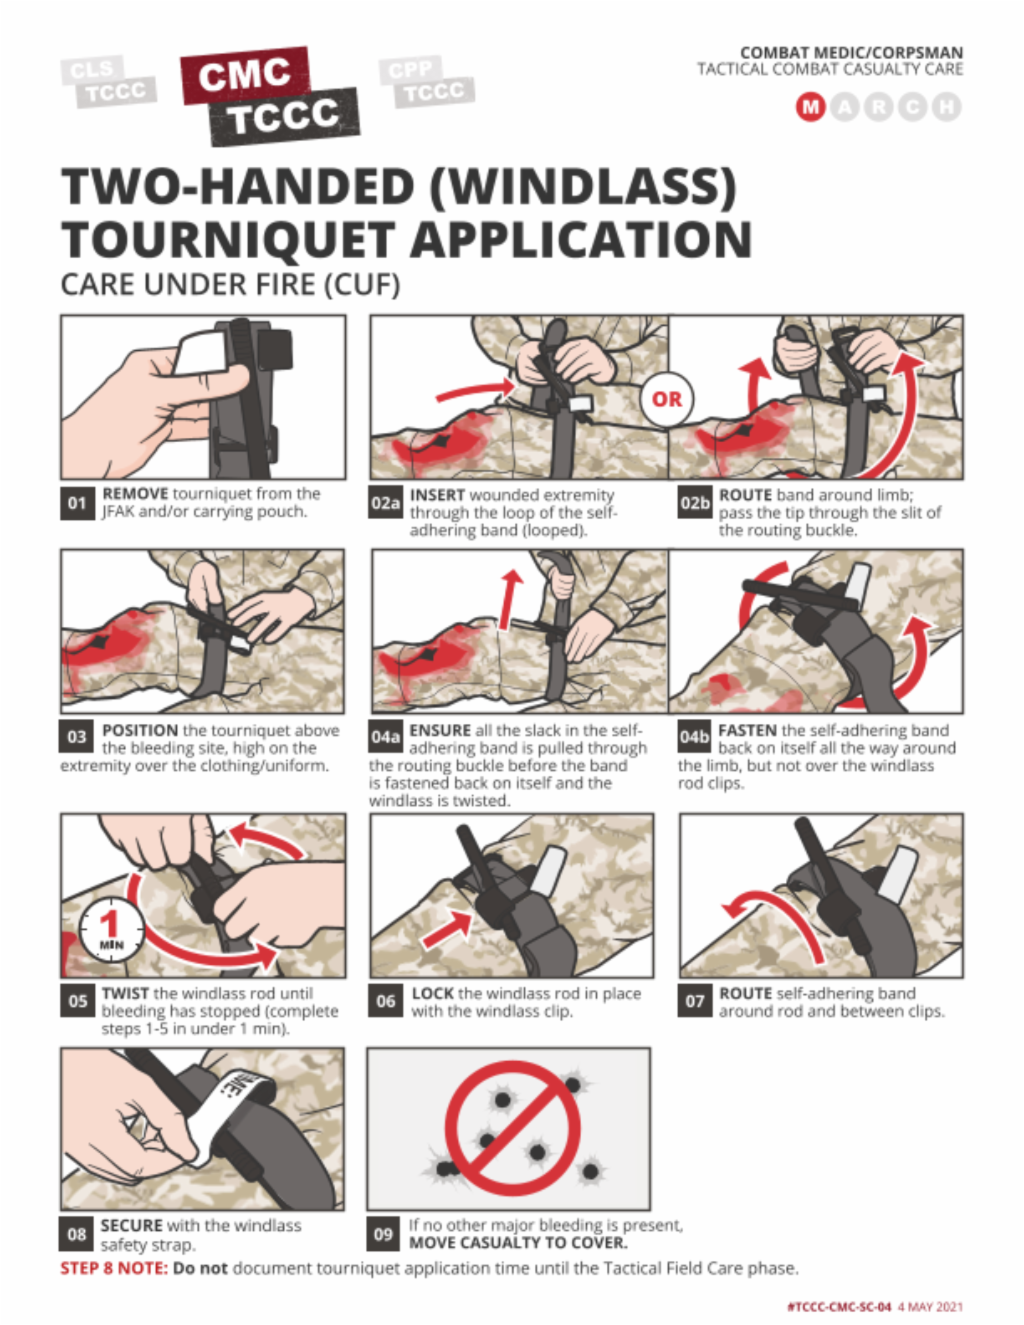
When responding to a casualty who is unresponsive and/or unable move in Care Under Fire, a two-handed tourniquet application technique is used.
As previously mentioned, exercise extreme caution in treating and moving a casualty in Care Under Fire to not put additional personnel at risk.
Upon approaching the casualty, quickly perform a visual blood sweep, looking for major bleeding. If expected or present, apply a hasty tourniquet high and tight on the injured extremity and get the casualty and yourself to cover as quickly as possible. When helping a casualty, use the tourniquet in the casualty’s JFAK first.
Two-handed tourniquets can be self-applied to the lower extremity but can also be applied by a responder to any extremity, if the casualty is unable to do so for themselves.
This two-handed technique can be used with any of the CoTCCC-approved tourniquets.
TWO-HANDED WINDLASS TOURNIQUET APPLICATION
Now let’s take a look at the ratchet-type device using the two-handed technique.
TWO-HANDED RATCHET TOURNIQUET APPLICATION


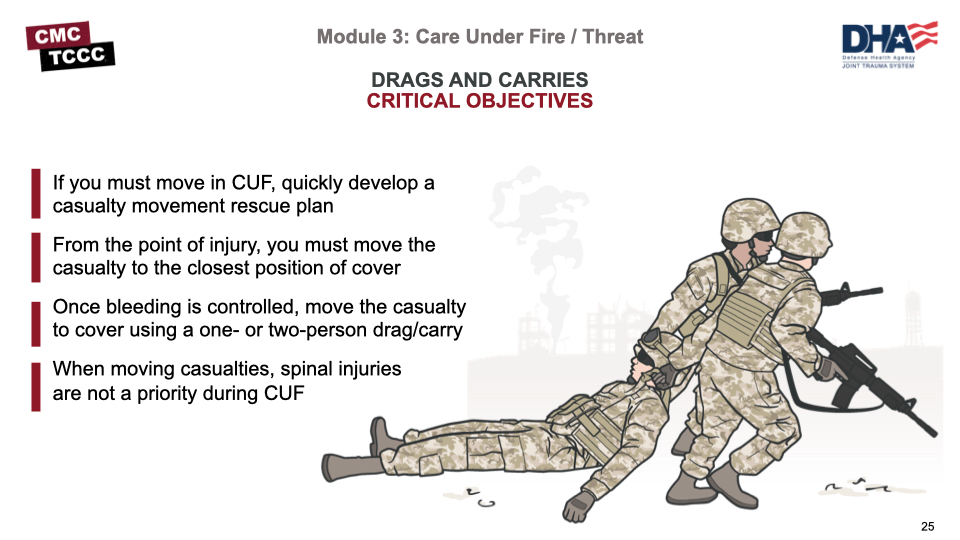
First and foremost a plan should be developed to move the casualty (IAW Unit SOP). From the point of injury, you must move the casualty to the closest position of cover, once a tourniquet has been applied, the next priority is to get the casualty to the nearest cover and out of effective enemy fire/threat.
Carries and drags will enable responders to do this as quickly as possible without causing further harm to the casualty (if possible). Of note, at this phase of care the tactical situation prevents focusing on spinal injury prevention measures during casualty movements.
A variety of effective carries can be used depending on the casualty’s level of consciousness, the enemy threat level, terrain issues, or other considerations. Each of them has some advantages, as well as some potential disadvantages.
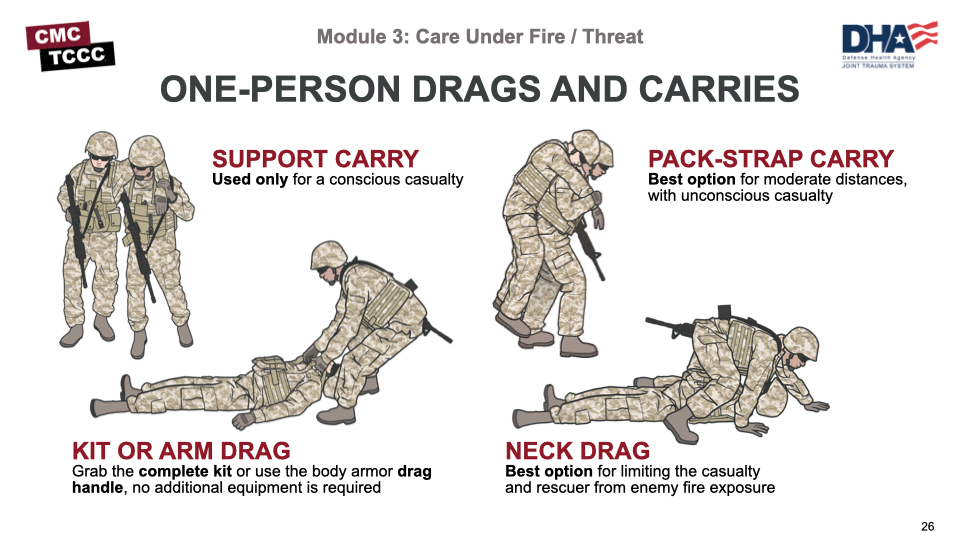
Examples of one-person drag/carries include the:
- Support Carry: can only be used with a conscious casualty.
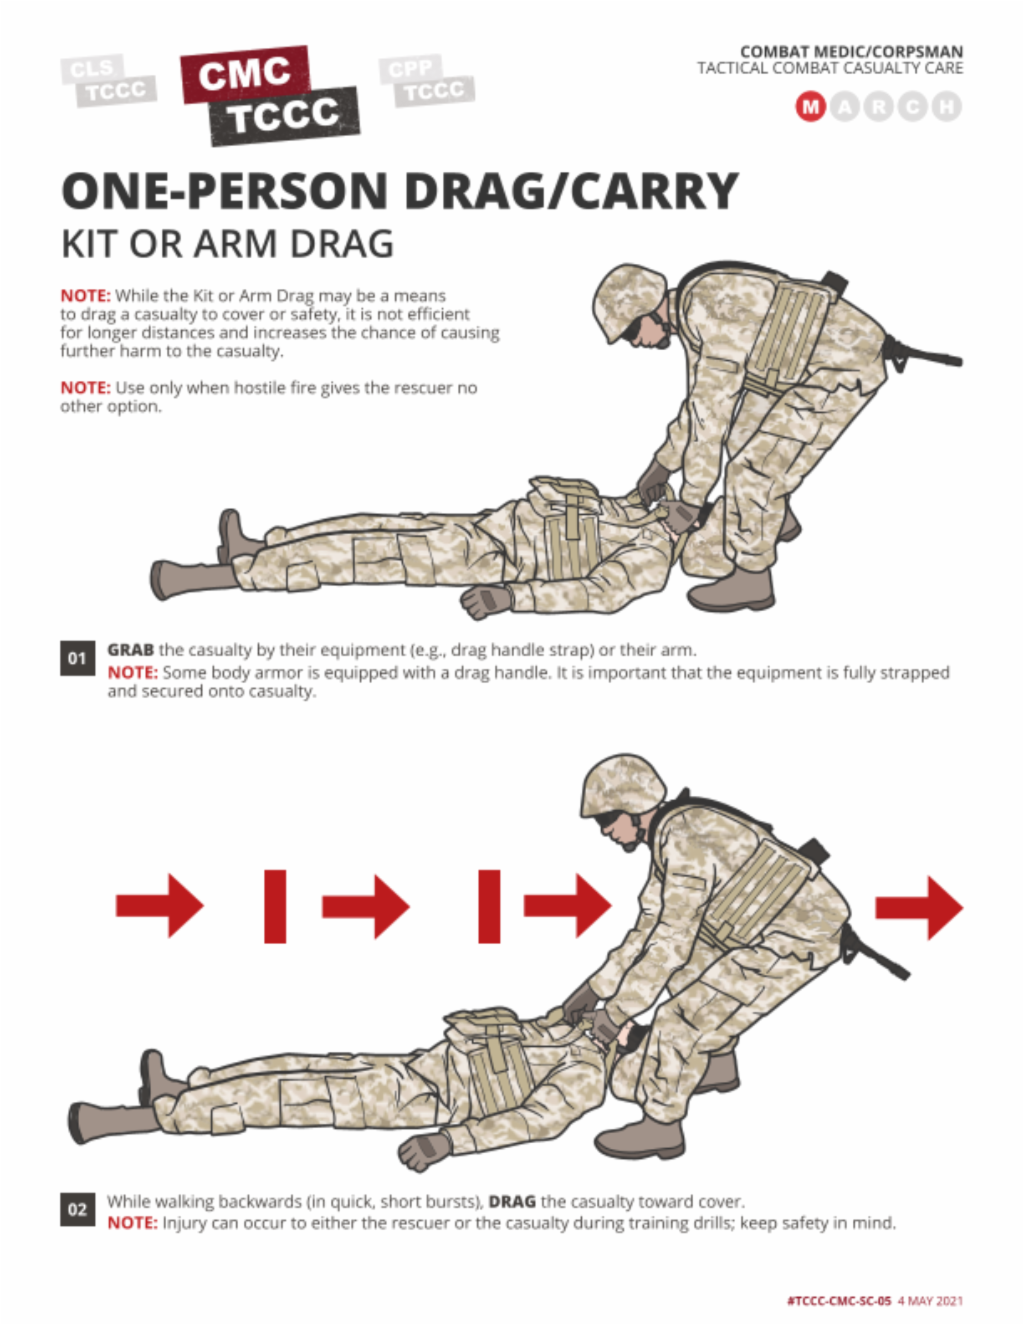
- Kit or Arm Drag: effective when moving down stairs but not efficient for longer distances.
- Pack-Strap Carry: best option when traveling with unconscious casualty over moderate distances.
- Neck Drag: helps limit exposure from enemy fire based on the low profile of the rescuer;
In general, an advantage of one-person drags/carries is that only one rescuer is exposed to enemy fire, but they have the disadvantage of being difficult to perform, taking longer, not able to immediately engage with the enemy, and causing the rescuer to tire quickly.
This video will demonstrate some of the one-person drags and carries.
ONE PERSON CASUALTY DRAG/CARRY
Also, several effective two-person drags and carries can be used, and which one you use will depend on the situation. Some examples include:
- Two-Person Supporting Carry: where a casualty is carried between two rescuers and can be used for conscious and unconscious casualties
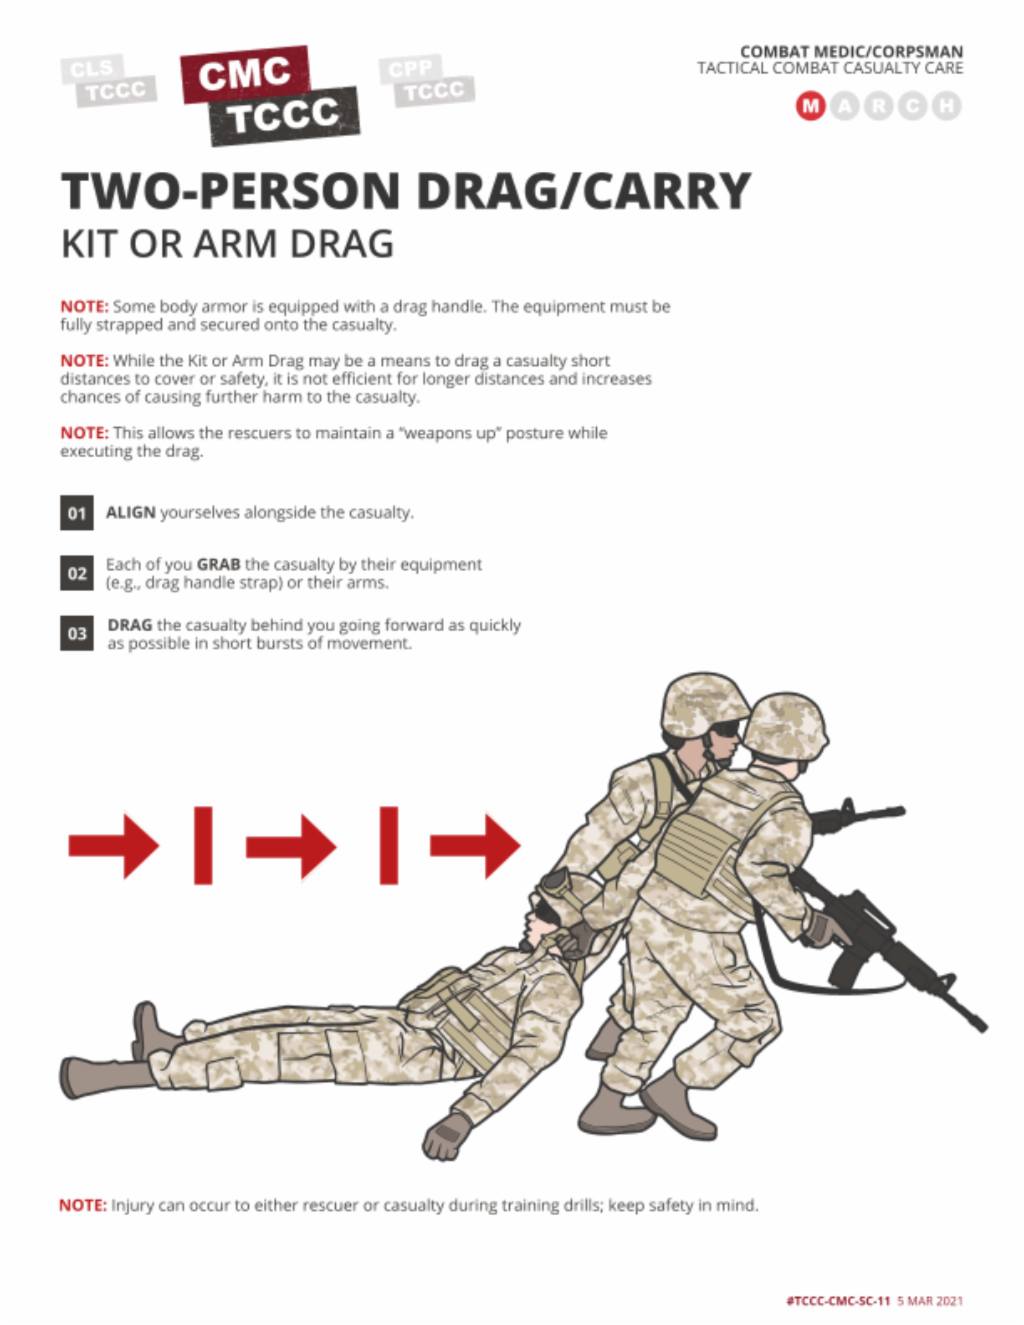
- Kit or Arm Drag: allows the rescuers to maintain a “weapons up” posture while executing the drag
- The Fore/Aft Carry: where both rescuers move forward in unison.
Two-person carries may be useful in situations where drags do not work well and are quicker than most one-person carries, but they cause the rescuers to have a higher silhouette than most drags and are hard to accomplish with the added weight of rescuer’s and/or the casualty’s equipment.

This video will demonstrate some of the two-person drags and carries.
TWO PERSON CASUALTY DRAG/CARRY
Care Under Fire/Threat is the care rendered by first responders while still under effective hostile fire or threat and is characterized by making medical and tactical decisions rapidly based on an understanding of the threats and the environment.
Returning fire to suppress the enemy, taking cover and gaining fire superiority are the initial priorities for all personnel in Care Under Fire.
The best medicine on the battlefield is fire superiority!
Treatment priorities, as established by the TCCC guidelines, are to extricate casualties from burning vehicles or buildings and stop life-threatening hemorrhage through the use of limb tourniquets, if tactically feasible.
If you can do only ONE thing for the casualty, identify and stop life-threatening bleeding, and keep them from bleeding to death by using a CoTCCC-recommended tourniquet.
Once a tourniquet has been applied, the priority is to get the casualty to the nearest cover and out of effective enemy fire/threat. Carries and drags will enable responders to do this as quickly as possible without causing further harm to the casualty.
To close out this module, check your learning with the questions below (answers under the image).
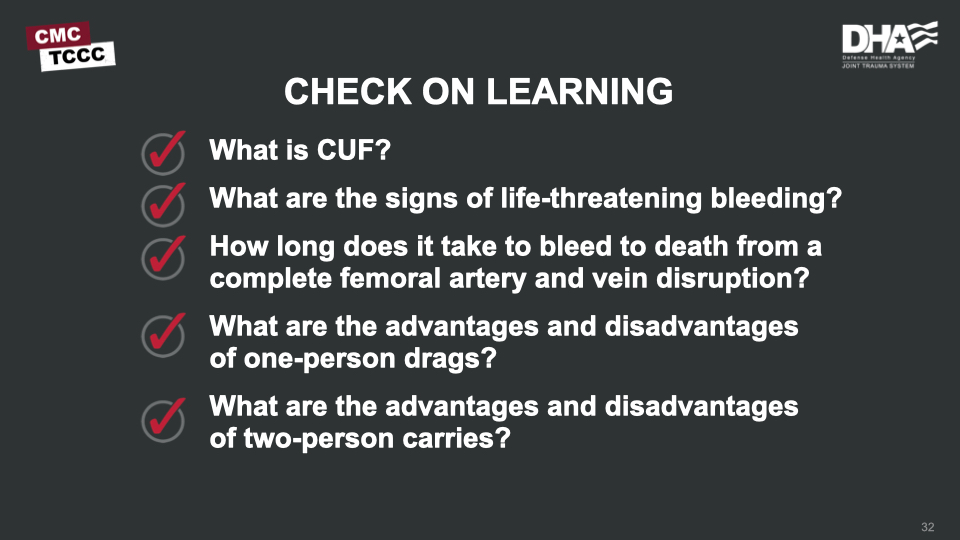
What is Care Under Fire?
Care Under Fire is the care given by the first responder at the scene of the injury while they and the casualty are still under effective hostile fire or near the threat.
What are the signs of life-threatening bleeding?
- Bright red blood is pooling on the ground
- The overlying clothes are soaked with blood
- There is a traumatic AMPUTATION of an arm or leg
- There is pulsatile (pulsing) or steady bleeding from the wound
How long does it take to bleed to death from a complete femoral artery and vein disruption?
3 minutes or less
What are advantages and disadvantages of one-person drags?
- Advantages: only one rescuer is exposed to enemy fire.
- Disadvantages: they are difficult to perform and can cause the rescuer to tire quickly.
What are advantages and disadvantages of two-person carries?
- Advantages: they are useful in situations where drags do not work well and are quicker than most one-person carries.
- Disadvantages: they cause the rescuers to have a higher silhouette than most drags, and are hard to accomplish with the added weight of rescuer’s and/or the casualty’s equipment.
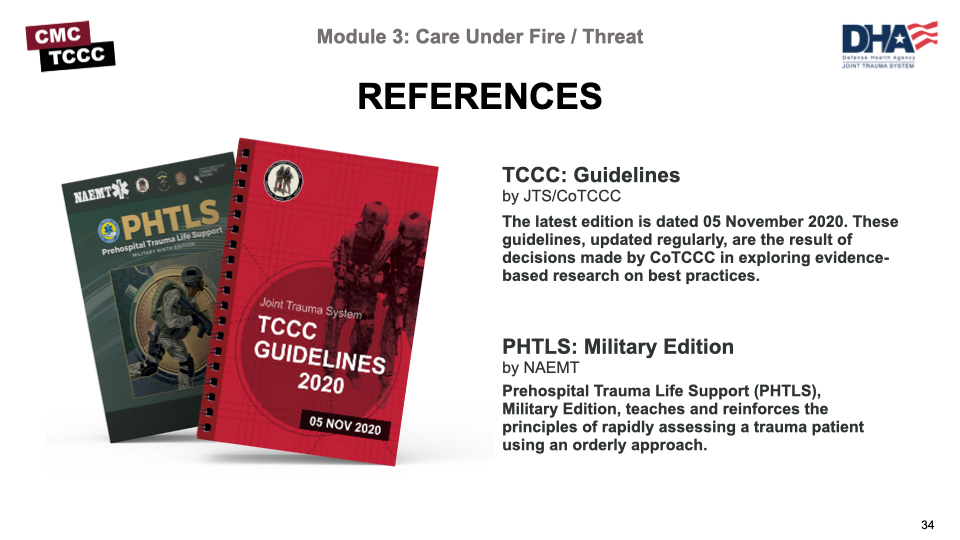
Throughout the course, you’ll note several references, but keep in mind that the TCCC Guidelines are the core guidance for assessing and treating casualties in a TCCC setting, as well as the emphasis for training. Likewise, the Prehospital Trauma Life Support (PHTLS)., Military Edition, teaches and reinforces the principles of rapidly assessing a trauma patient using an orderly approach.